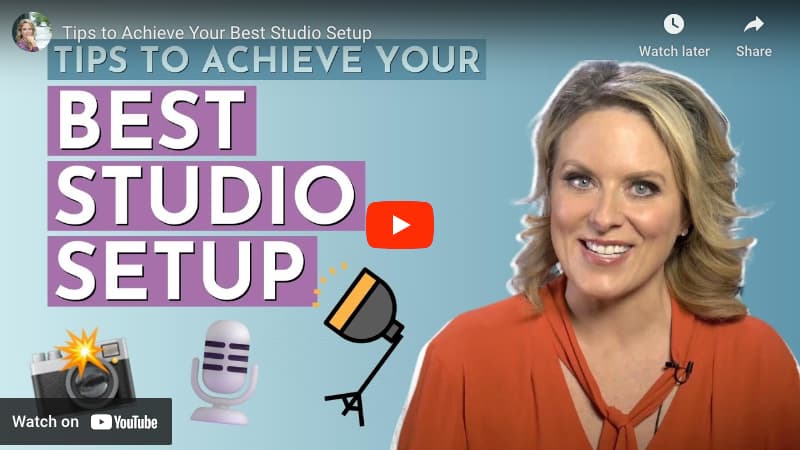
Learn how to create your very own studio space for shooting professional-quality videos from the comfort of your home or office. This video will guide you through choosing the perfect location, setting up the ideal background, understanding lighting solutions, and selecting the best audio equipment. Create stunning visuals and top-notch content with ease by following our comprehensive studio setup guide.
Transcript
Setting up your own studio space. I know it may seem like a huge undertaking, but really, it’s actually not all that complicated. And it can save you a lot of money and a lot of headaches in the long run. Having a studio setup at your disposal means that you don’t have to worry about somebody else’s timeline. When you want to shoot new content, you can turn around a video at a moment’s notice and do it in the middle of the night. That’s huge when you want to capitalize on a trend, or you have a last minute request. It also means that you don’t have to rent or borrow equipment or space, you don’t need to worry if all of your requirements will be met or if you will be able to finish up before your time is up. So let’s talk about what it takes to set up a studio. So first, you need to have obviously a space most video creators live in pretty small spaces for a number of reasons. What it does mean though, is that you have a space where you know your video setup is easily accessible. You don’t want to have to clear a room every time you need to shoot a new clip, you want to be able to set up your equipment and just go. So when choosing your space. Think about the kinds of videos you’ll be shooting. Will you only need to be seen from the shoulders up? Will you need a full body shot head to toe? Will you be doing demos that may require more space? This is going to determine how much space you need for that setup. If you think you’re going to be doing a number of sorts of different videos, then start by considering the type that you’ll need the most space for and then work back to find out where you need to set up. After all, you can always make a shot tighter, but it’s pretty hard to expand your shot if you have walls or furniture in the way. So part of choosing your studio space is deciding on what you want in the background of your shot. This is really important if you’re not using a backdrop or a green screen. This is when you want to think about the mood or the aesthetic that you’re trying to achieve. Choosing the right background is also an excellent way to establish your reputation before you even say words. If I’m working with a lifestyle expert, putting them in front of a closet full of clothes has the same kind of impact. Take your time and figure out exactly where your video should take place. But your background doesn’t have to be fancy at all. There are content creators that set up in front of a bookcase pattern wallets and have fantastic looking shots. And it doesn’t have to be huge. For vlogs it’s perfectly fine. Use a background that only allows for a head and shoulders shot. You don’t need to have the Taj Mahal behind you every time you turn on a camera. You also don’t have to have a great deal of distance between you and your backrest. Just make sure there’s a little bit of space to find out what works for you. No matter what background you choose, make sure it’s free of unintended distractions or interruptions. Your background isn’t enhanced if it isn’t, that’s when you need to look at using more advanced techniques. Try not to have photos or art in the background that draw the eye away from you or from your subject. Don’t have signage that pulls the focus from you either. Yes, you may have a fantastic logo that you love. But unless your video is about the logo, you probably need to keep the focus on you. When choosing a space consider not only the layout, but the acoustics you want that space to be relatively quiet. I’m not just talking about staying away from rooms overlooking train tracks or major highways, I’m talking about really small sounds like air conditioning or feedback from electronic devices that can also be an issue. As you decide on a space, try shooting test clips to see what your microphone picks up. And if it’s distracting to your recording, it is best to know what you’re dealing with before you actually start. So you may need to turn off the AC or the heat before you start shooting. Or you may decide you need some padding to soundproof your studio space. How do you do that? Well that can be as easy as hanging a blanket over a door or a window that’s letting in sound that you don’t want. So now that you have your perfect quiet space with a fabulous backdrop, it’s time to start setting up your equipment. Let’s start with the obvious: I’m talking about your camera. For basic video, you really only need one, your smartphone is probably going to do the trick. It’s what the majority of content creators you see are using your camera for, though without a tripod. It will study the shot and give you more options when it comes to setting things up. You don’t want to be Jerry Regan and new camera angles every time you want to try something new. A new tripod makes it easy to change aspects of your shot and then return to your original setup. Lights. Do you need them? Yes natural light is great when you’re shooting video but one of the reasons that you’re setting up a studio is so that you have consistent lighting to your clips. We all know that natural light is anything but consistent. Any basic studio setup should have a light kit ready to go so that you can shoot at any time Day Night Rain shines whatever is going on. A Ring Light is a really good starting place especially if you’re shooting videos with a single subject easy to set up. It gives good light coverage and most of them are very inexpensive. How do you set it up? Well make sure it’s positioned close to the camera slightly above the lens. This will give you a good broad base of light. But even with a light in front of you, be aware that any light that may be coming from behind you is the enemy back lighting is not good. Don’t make you look like you’re in a shadow so avoid it at all costs light the entire scene not just your subject or part of their frame, you are not shooting a music video in the 90s. If your light doesn’t cover the entire scene, you need to adjust your shot or change your light setup, you may need to switch from a single source of light near the camera to two sources of light, maybe one on either side. If you are using a two light setup, it’s not a bad idea to invest in soft boxes for your lights. So soft boxes are large coverings that go over the lights and diffuse it towards your focal point. If you have ever had a photo, let’s say taken by a professional photographer, you’ve seen one of these soft boxes and using a softbox takes a harsh stream of light and turns it from a spotlight into a bigger softer light source. It’s very flattering. Most basic light kids will have soft boxes included in them but if you don’t, you can purchase them easily for not a lot of money. Audio is so important when it comes to video, not just lighting. One of the big advantages you have with a studio setup is that your audio will always be what you want. Lavalier mics are easy to use and not that expensive, most now connected via Bluetooth to your camera making them even less of a hassle than they used to be. Since you want your mic to be as close to the source of sound as possible. A lav mic is perfect. However, every speaker should have their own mic. Do not expect to share one; it’s not going to come out good. If you don’t want to use multiple lav mics you could go with either a snowball or shotgun mic depending a little bit on what you’re showing how wide the shot is. A snowball mic is great for capturing multiple voices but only if your subjects are staying in one spot and they’re relatively close together. So this would be an option if you are shooting let’s say a lot of interview type segments. A shotgun mic is better if you’re going to be moving around if you’re shooting an exercise video or a demo with multiple people. This is the mic for you